Generative Fill Online
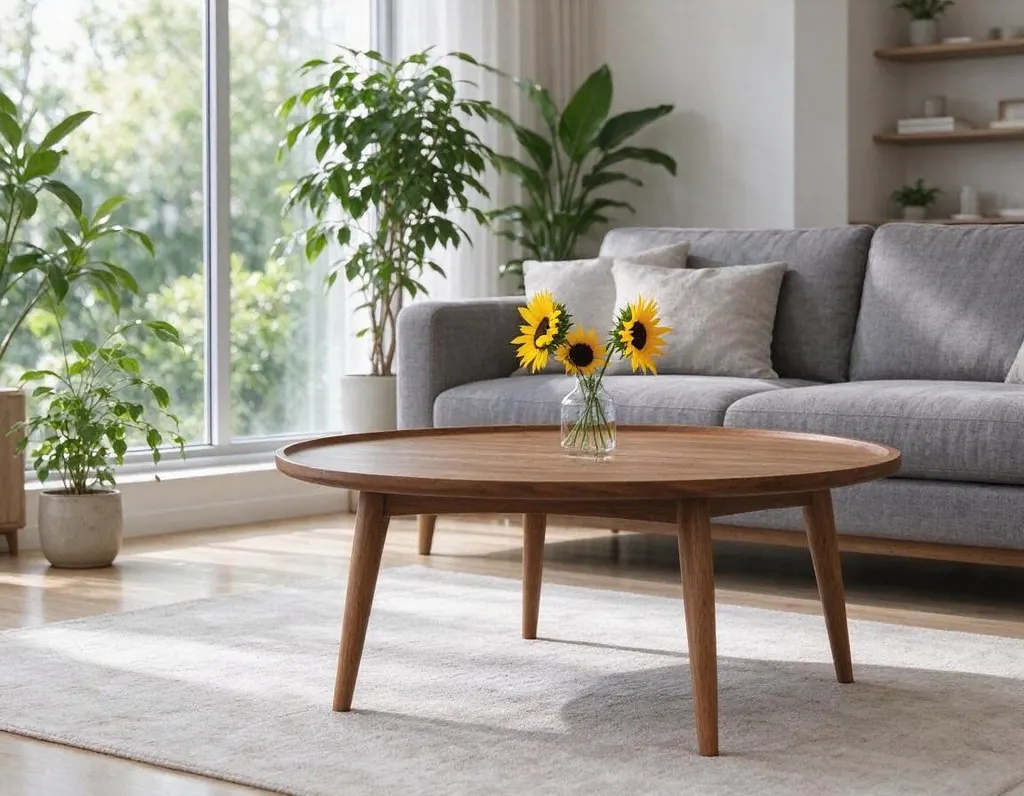
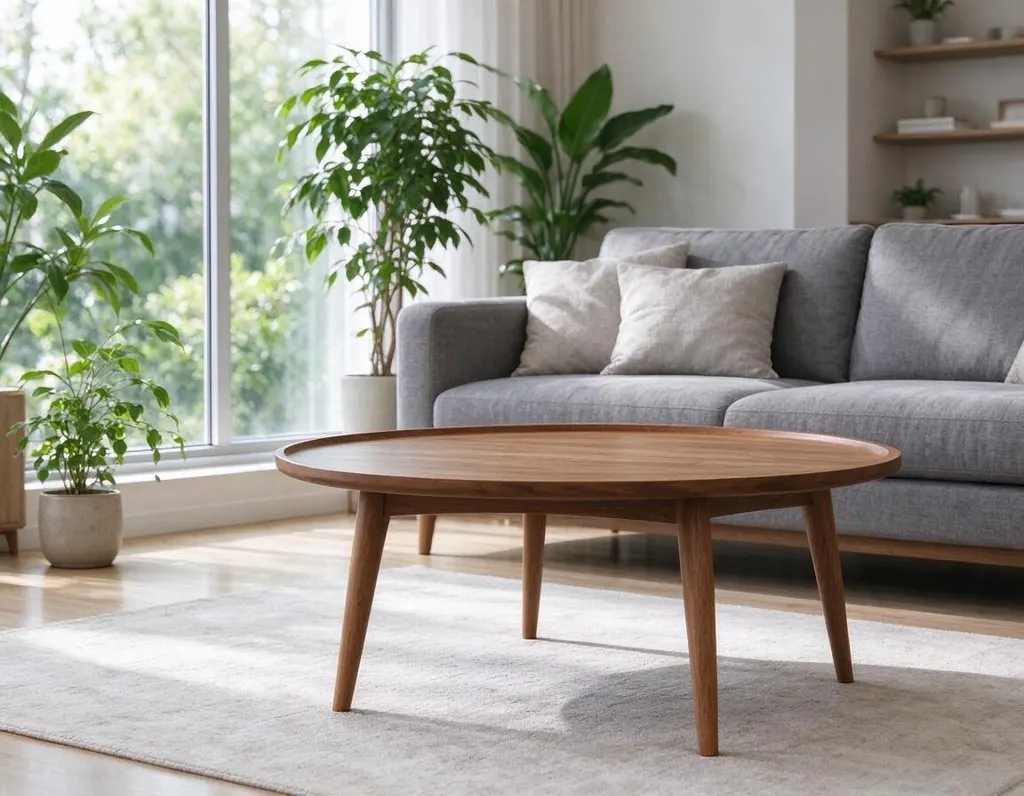
Brush an area, type what you want there, and the AI paints it in to match the rest of the photo.
- 2 credits
- Free account, 20 credits to start
- No watermark with purchased credits
Needs a free account. New accounts get free credits to start.
See what it does
How it works
Why people use it
Add, replace or change
Put a new object into a scene, swap one thing for another, or change a detail like clothing or a sign.
Blends with your photo
The fill follows the light, colors and perspective around the masked area.
Just a brush and a sentence
No layers or selections. Mark the spot, describe the change in plain words.
No watermark
Filled images download clean, even when you use free credits.
Low cost per edit
Each fill costs 2 credits, so you can try a few prompts until it looks right.
What you can do with generative fill
Generative fill lets you change one part of a photo without touching the rest. Brush over an area, describe what belongs there, and the AI paints it in. Use it to add a vase of flowers to an empty table, put a hat on someone, replace a blank wall with a window, or swap a plain mug for a branded one in a product mockup.
Behind the scenes, the tool uses FLUX.1 Fill [dev], an inpainting model that generates new pixels only inside the mask and blends them with the surrounding light and colors.
Writing a good prompt
- Describe only what goes in the masked area. "A small wooden bench" works better than describing the whole scene.
- Add useful details. Color, material and size help: "a tall green plant in a white ceramic pot".
- Match the mask to the object. Draw a mask roughly the size and shape of the thing you want. A tiny mask can't fit a large object.
- Try a few variations. Each fill is cheap, so run the same mask with slightly different wording and keep the best one.
Resolution and limits
The image is processed at about 1024 × 1024 pixels, so very large photos are scaled down. If you need a high-resolution result, send it to the Image Upscaler afterwards. Generated details can sometimes look off, especially hands, text and faces. Generating again with a clearer prompt or a better-fitting mask usually helps.
Results have no watermark, even when you use free credits, so you can use them in mockups, posts and presentations right away.
Generative fill vs. other tools
If you want to remove something without adding anything new, use the AI Object Remover instead. To add space around the edges of a photo, use the AI Image Extender. And if you want to change the whole image, such as its style, lighting or clothing, the AI Photo Editor works on the full picture from a single text instruction.
Frequently asked questions
Try next
 Object RemoverFreeBrush over what you don't want and the AI fills in the gap. The AI Object Remover works today; a free in-browser eraser is coming soon.AI Object Remover4 creditsErase large objects and busy scenes with a cleaner, more natural fill. No watermark on the result.
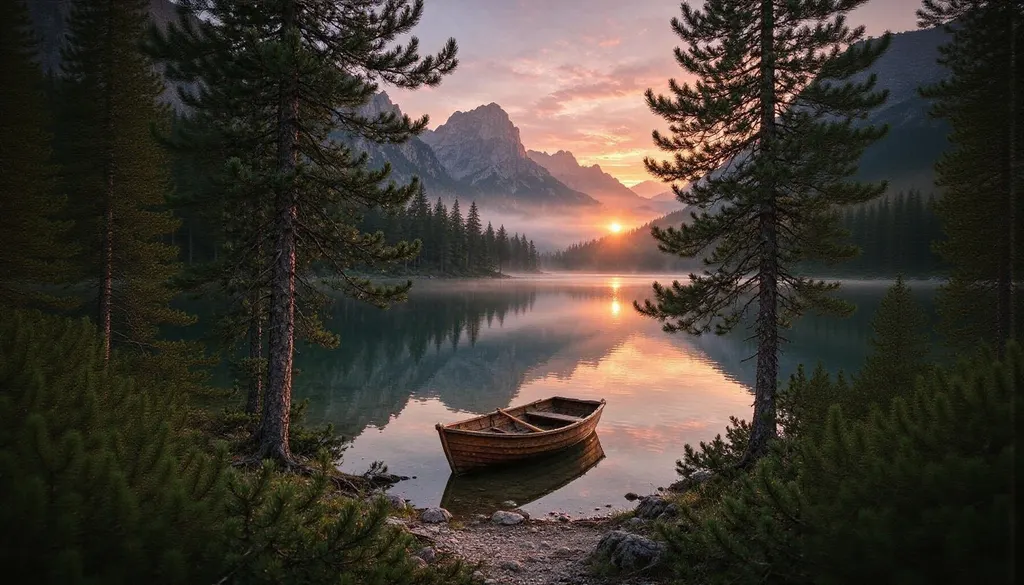 AI Image Extender2 creditsPick a new aspect ratio and the AI fills in what lies beyond the frame. No cropping, no stretching.